A holiday catalog that arrives after your buyers have placed their orders is a catalog nobody uses. Building it is rarely the hard part. The timing is: products get decided late, the print shop needs files sooner than expected, and the link goes out when inboxes are already full.
This checklist works back from the day your catalog has to reach people. It fits a Black Friday or Christmas catalog for shoppers as well as a new-season line sheet for wholesale buyers. Each step names the button to click in the EasyCatalog grid editor.
Key dates this season
- ThanksgivingThursday, November 26
- Black FridayFriday, November 27
- Cyber MondayMonday, November 30
- ChristmasFriday, December 25
- Boxing DaySaturday, December 26
- New Year’s DayFriday, January 1, 2027
Shoppers need your catalog before these dates, not on them. Wholesale buyers usually order further ahead, so ask your key accounts when they buy for the new season.
Work back from your send date
Pick the day the catalog must reach people, your send date, and fill in the rest backwards:
| When | What to do | Where in EasyCatalog |
|---|---|---|
| 3–4 weeks before | Choose the products. Check stock, photos and descriptions. Decide on print, digital or both. | Your Shopify collections and tags; paper size when you create the catalog |
| 2–3 weeks before | Pick a template, add the products, set colors, fonts and prices. | Templates, Add products, Theme, Discount & Tax |
| 1–2 weeks before | Proof every page. Send print files to the print shop. | Data view, Generate PDF catalog |
| 2–3 days before | Make the final PDF. Set the order rules. Prepare your emails and posts. | Generate PDF catalog, Wholesale rules, Retail rules |
| Send day | Share the links and QR codes. | Copy link, Get QR |
| After launch | Keep prices and stock current. | Sync, then Generate PDF catalog again |
Printing adds its own lead time. Ask your print shop how long printing and delivery take, and move every row earlier by that much.
Starting late for Black Friday? Digital only, the same steps fit into a week: products and template on day one, design and prices over the next two days, and the final PDF two days before you send.
Step 1 Lock the product list and the format
Decide what goes in before you open the editor. A focused catalog of well-chosen products reads better than one with everything you sell.
In Shopify, put those products in a collection or give them a shared tag, such as holiday-2026. In Step 3 you can then add them all in one go.
While you are in Shopify, check three things: stock, photos and descriptions. The catalog copies them from your store when you add the products, so fix them in Shopify first.
Then decide how the catalog will travel. A link can go out the day the catalog is finished; paper needs a print shop and delivery time. Many stores do both. PDF catalogs vs printed catalogs compares the two.
This decision matters now because of one setting. You choose the paper size (A4, Letter or A5) and the orientation when you create the catalog, and the editor has no setting to change them later. Pick the size your print shop or your buyers expect.
Step 2 Start from a seasonal template
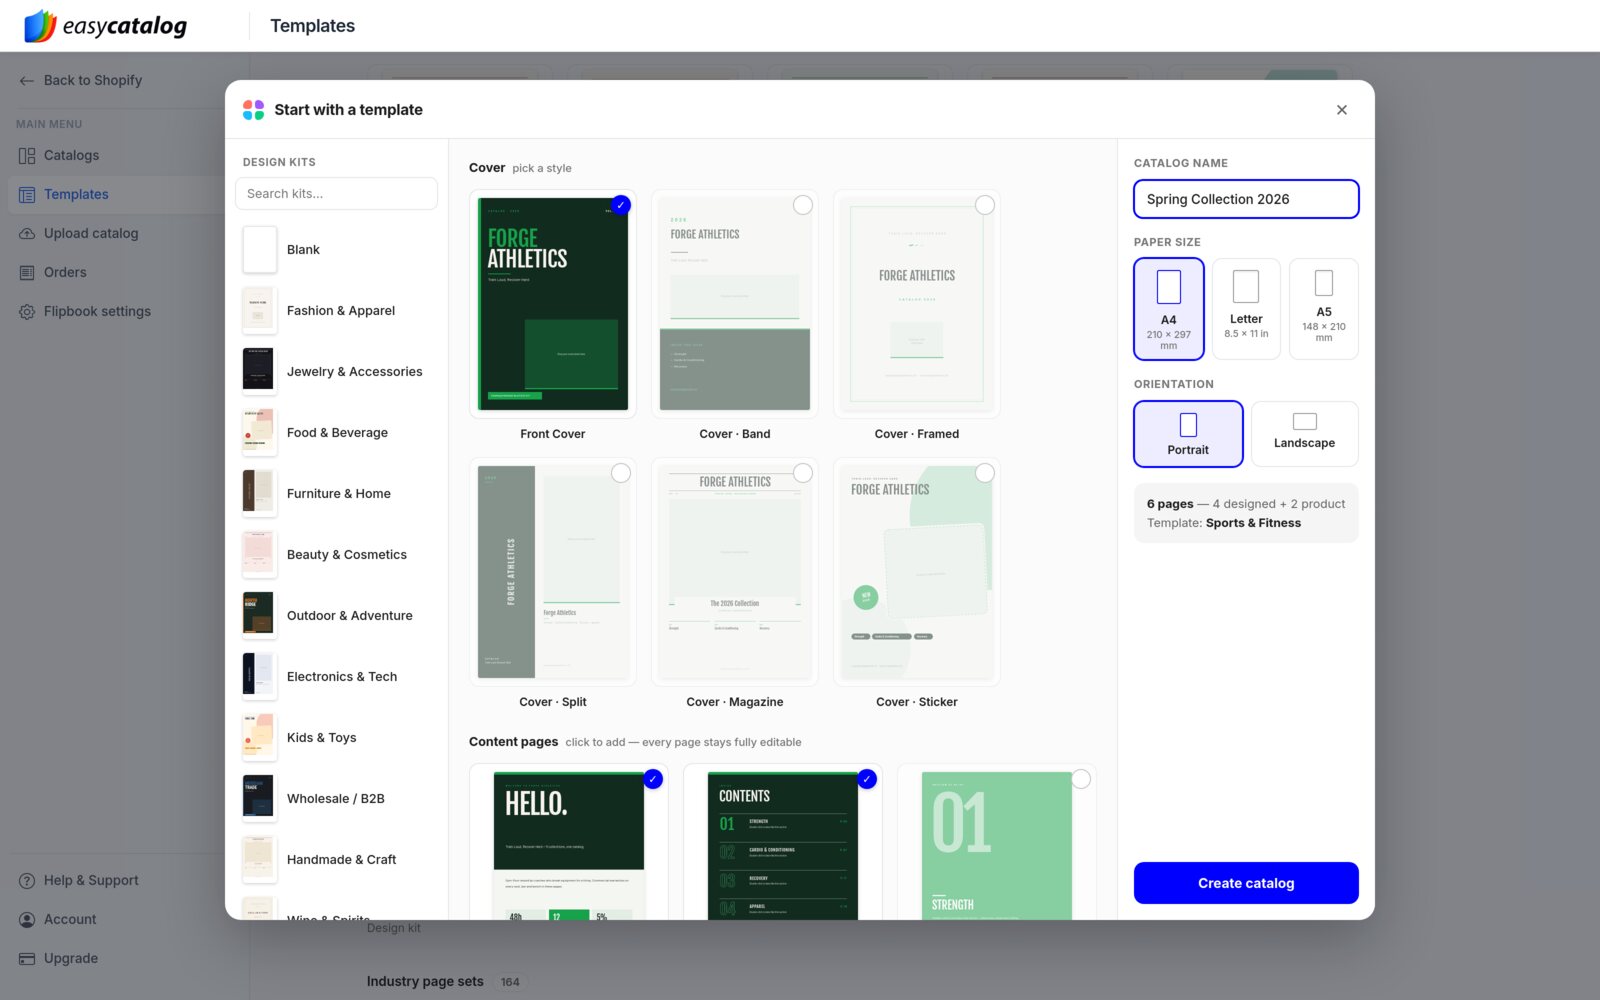
On your Catalogs page, click New catalog (Advanced editor), or Templates in the main menu. Below the design kits, Campaign & category templates holds over 130 templates for seasons, sales and occasions. Its chips open on This month; switch to another month or to a category.
Click one and the Start with a template window opens. Its left column lists the same templates under Campaign templates, filtered by month or category, each marked Wholesale or Retail. Here is what the season holds:
- November: Thanksgiving Sale, Black Friday, Black Week, Cyber Monday, Cyber Week, Singles’ Day 11.11, Holiday Preview and Christmas Gift Guide.
- December: Christmas, Christmas Sale, Holiday Gift Guide, Last-Minute Gifts, End of Year Sale, Boxing Day, New Year Preview and Winter Collection.
- January: New Year Sale, New Year Collection, Winter Sale, Clearance Sale, End of Season Sale and Lunar New Year.
- Seasonal (category): Holiday Collection, New Season, Resort Collection and a collection for each season, from Spring to Winter.
Pick a cover, the content pages and the product grid, name the catalog, then click Create catalog.
Already have a catalog? In the editor, open Templates and go to the all-templates view (the back arrow takes you there). Find a template with the month menu or the search box, click it to see its pages, and click a page to add it after the current one.
Templates come with sample photos. On a Shopify store, Replace N sample photos in this catalog in Page & Grid swaps them for your own product photos. See Add pages from Templates.
Step 3 Add the products in one go
Click Add products, the blue button in the top bar right after Undo and Redo. The window has two tabs.
Bulk add is the fast way on a Shopify store. Pick one or more collections or Shopify B2B catalogs, and each becomes its own section on new pages. Drag the numbered chips under Import order to set which comes first.
The filters narrow the products down by status, vendor, product type, tag and price. Two are worth using for a seasonal catalog: the tag you set in Step 1, and Only products in stock, so nothing sold out reaches the pages.
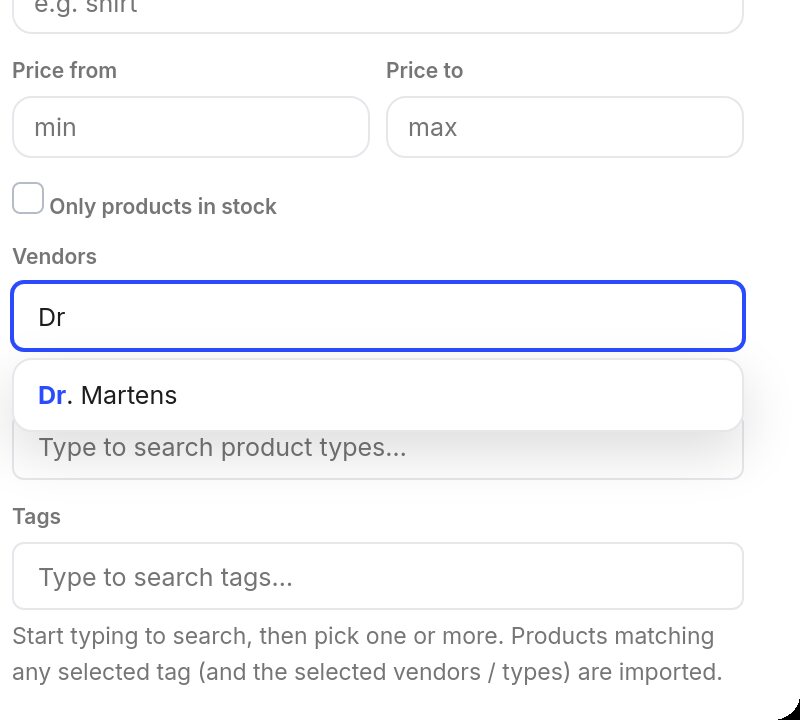
Individual products is for one-off picks, such as a last-minute addition. Search, or click Add filter + to narrow the list by tag, vendor, product type and more. Used a tag instead of a collection? Filter by that tag, tick Select all and click Add.
Without a Shopify store, Bulk add puts your whole inventory on the pages, or imports products from a CSV or Excel file, a Google Sheet, a WooCommerce store or a product feed. See how to turn a CSV or Excel file into a catalog.
Left gaps after removing products? Reflow in the top bar moves products forward until every empty spot is filled.
Save as you go. The grid editor does not save by itself. Press Ctrl + S (Cmd + S on a Mac) after each step.
Step 4 Give it a seasonal look
Open Theme in the left sidebar. Its three tabs set the look of the whole catalog from one place.
In Colors, set Apply to (This page or Whole catalog), then click Shuffle colors or browse 199 palettes. The Red, Green and Dark filters get you to a festive or Black Friday look in a couple of clicks. Your colors shows the six colors in use (Page, Soft fill, Soft text, Accent, Text and Deep); change one, such as the accent, to match your brand.
Fonts offers 12 font pairs, from Editorial and Luxe to Retail and Sport. Headings and product names take the first font, everything else the second.
For sale callouts, open Custom elements and pick Shapes & lines. The catalog badges include SALE, 50% OFF, -20%, BLACK FRIDAY, BEST SELLER and LIMITED EDITION. On a product page, a badge floats above the grid, so it never pushes products around.
To repeat a banner or logo, select it and use Copy to pages: All product pages, All content pages or All pages.
Step 5 Set the holiday prices
Settle the prices before you proof anything. A late price change means proofing again.
Open Discount & Tax. Enter a percentage or a fixed discount and check the preview for one product. Then click where it should land: Selected product, This page, This collection or Whole catalog. Nothing changes until you press one of those buttons.
Each section can carry its own offer, say 20% on one collection and 30% on another. Compare-at prices stay struck through, and the prices in your store never change. The Discount & Tax guide has the details.
The Prices tab in Theme sets how every price looks:
- Currency symbol and its position: before, after or hidden.
- Number format: 1234.56, 1,234.56, 1.234,56, 1 234,56 or 1’234.56.
- Decimals: cents (12.50) or rounded (13).
The symbol only changes how prices look; prices are not converted. To print prices in another currency, choose it when you bulk add products. The Currency option appears when your store sells in more than one.
For a handful of special prices, switch the top bar from Design to Data and type them into the spreadsheet. These edits stay in this catalog and are kept when you sync.
Check the order form price. By default, the Wholesale order form uses your live store prices. If the catalog prints a discount, set Price mode to Catalog discount in Wholesale rules (Step 7), so buyers order at the price on the page.
Step 6 Proof it, then make the PDF
Click Generate PDF catalog and choose Draft (72 DPI) for a quick proof. Read it on a phone too, then check:
- Every price, discount and struck-through compare-at price.
- Product names, sizes and colors.
- Dates and offer wording. “Ends Monday” has to match the real Monday.
- Contact details and links. Scan each QR code with your phone.
- No sold-out products.
For the final file, Standard (150 DPI) suits screens, email and links. High quality and Best quality (300 DPI) suit printing. Print professional (300 DPI, CMYK) is for print shops that ask for CMYK. Vivid greens and blues come out duller in CMYK, so ask for a printed proof of a festive palette.
If the print shop trims the pages, pick a Bleed of 3 mm or 5 mm and tick Crop marks if they ask for them. You get a separate print file in a Print row on the catalog card; your PDF and links keep the normal page size. Text is never moved, so keep it a few millimetres from the edges. More on bleed and crop marks.
New template product pages start with 20 px margins and a 6 px gap between products. If your print shop asks for a wider safe area, raise Page margins in Page & Grid.
Save before the final run: every save keeps a version you can restore from the clock icon in the top bar. Generating takes you to the Catalogs page, where the card shows In progress until the PDF is ready.
Step 7 Share it and take orders
When the PDF is ready, the catalog card shows your share links, each with Copy link and Get QR:
- PDF: the file, for email and print.
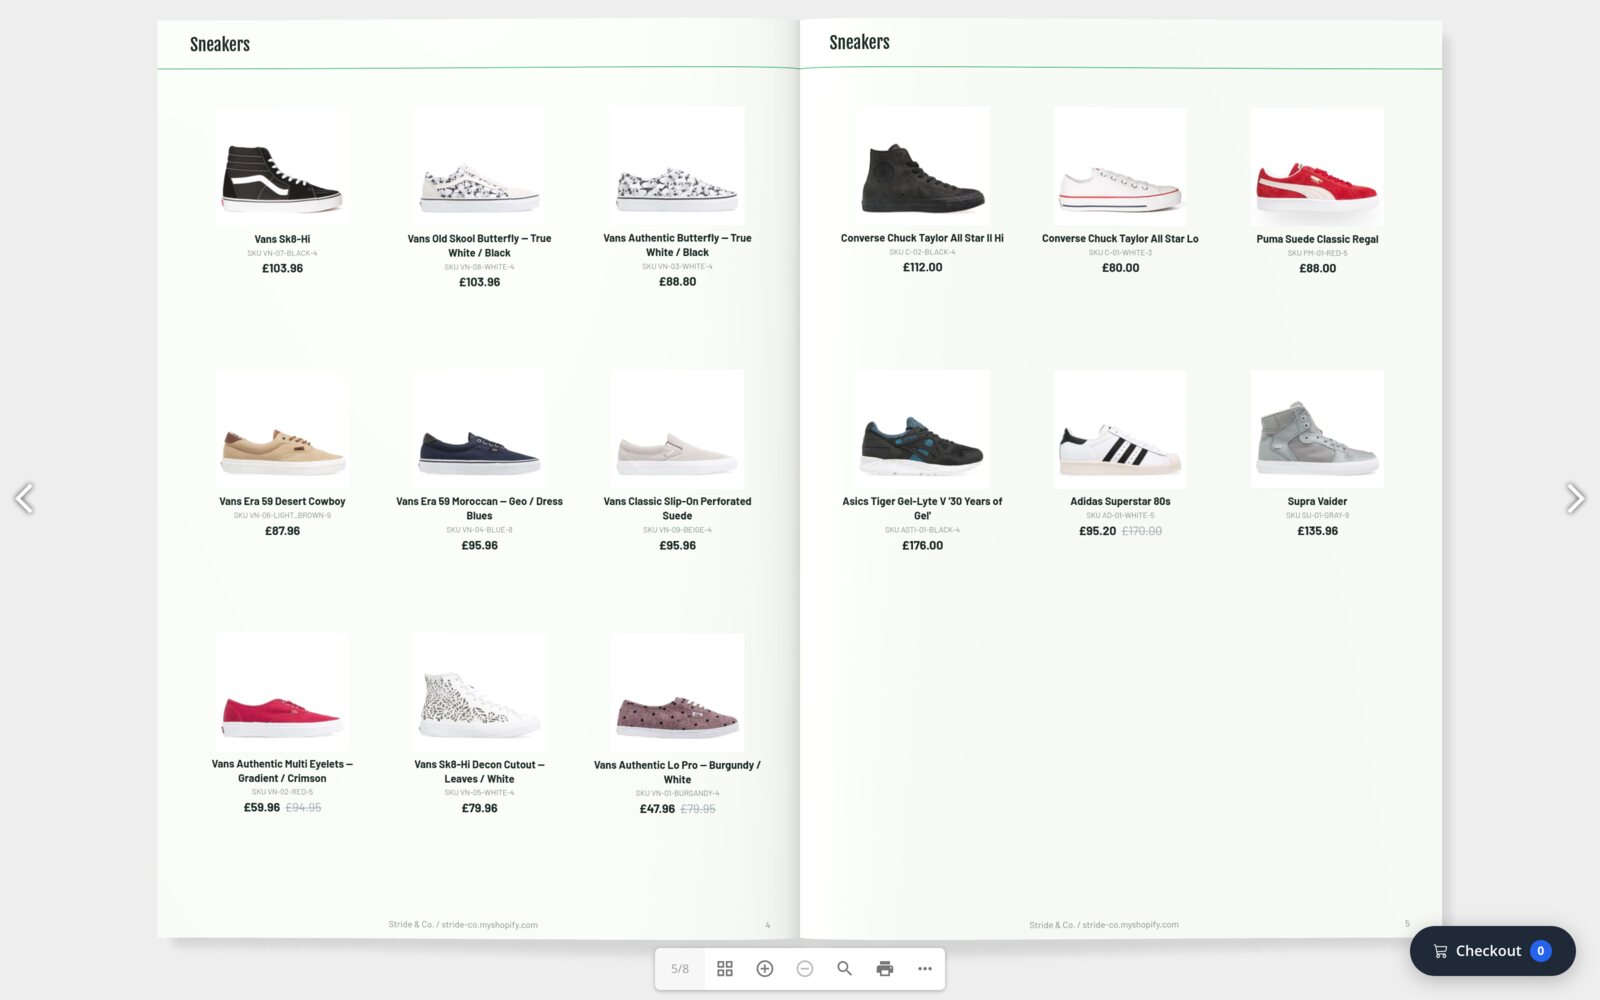
- Wholesale: a flipbook with an order form. Buyers pick quantities for each variant and send you the order.
- Retail (Shopify stores only): a flipbook whose cart goes to your Shopify checkout.
- Showcase: a browse-only flipbook for social posts and partners.
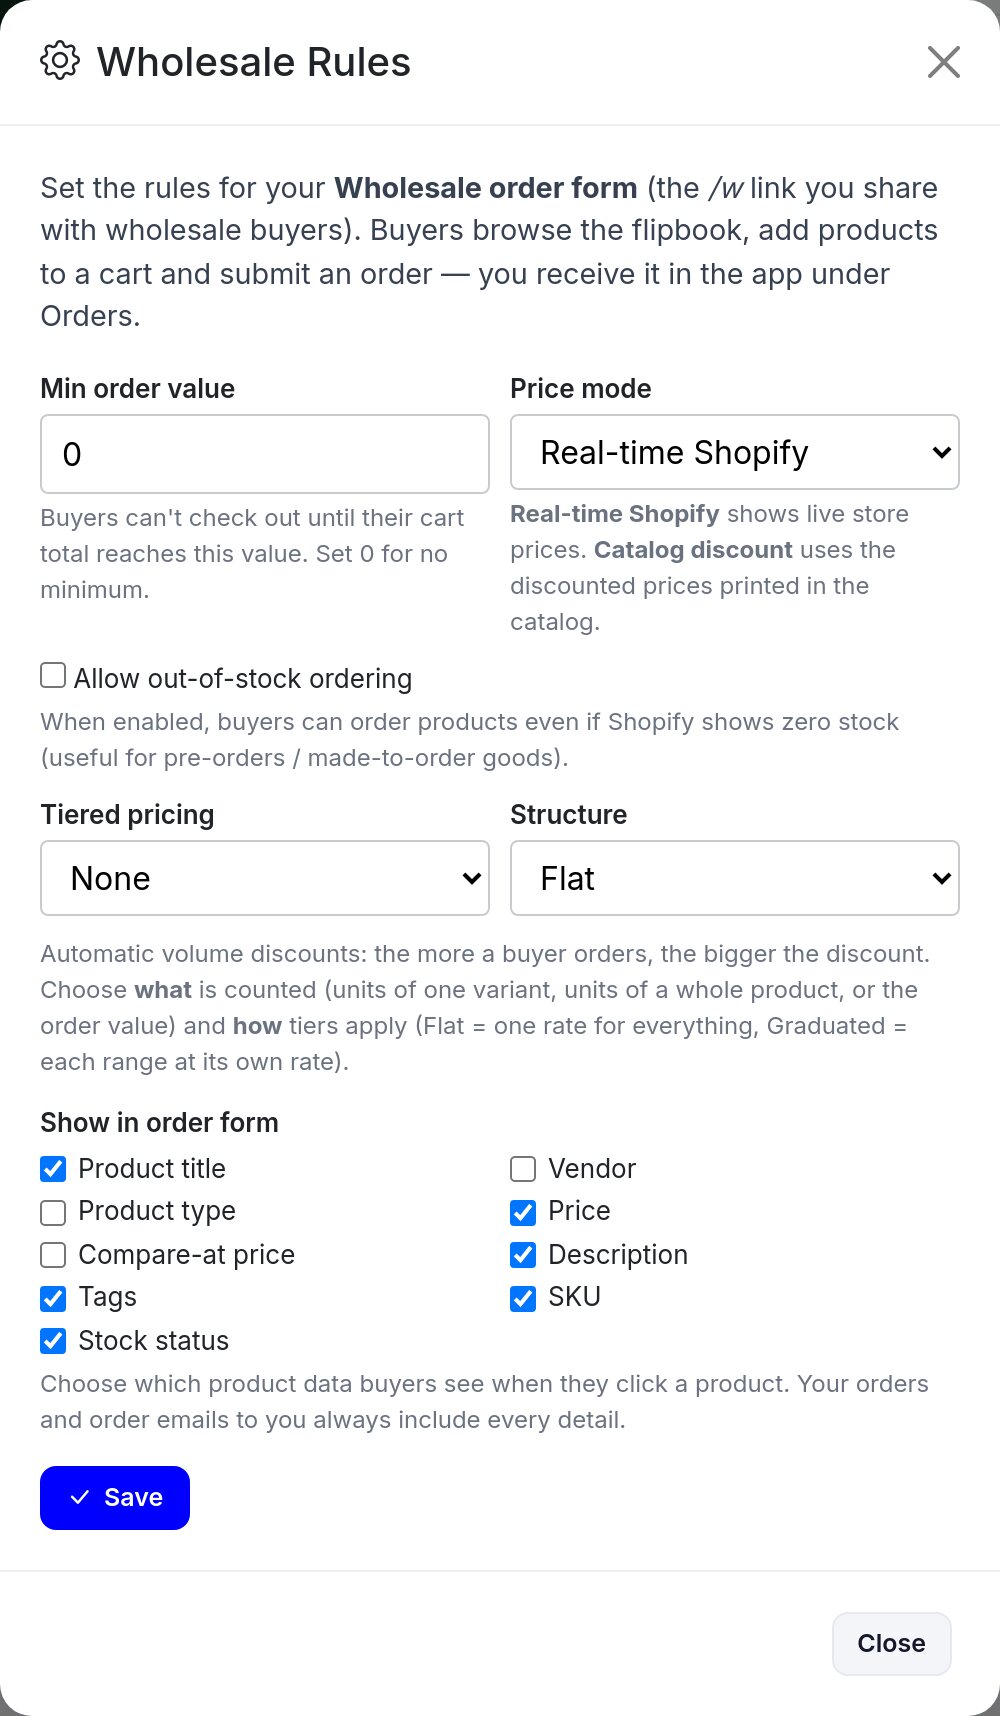
Set the rules on the catalog card before you send anything:
- Wholesale rules: a minimum order value, the price mode, and Allow out-of-stock ordering, which lets buyers pre-order new-season products that show zero stock. Orders arrive in the app under Orders.
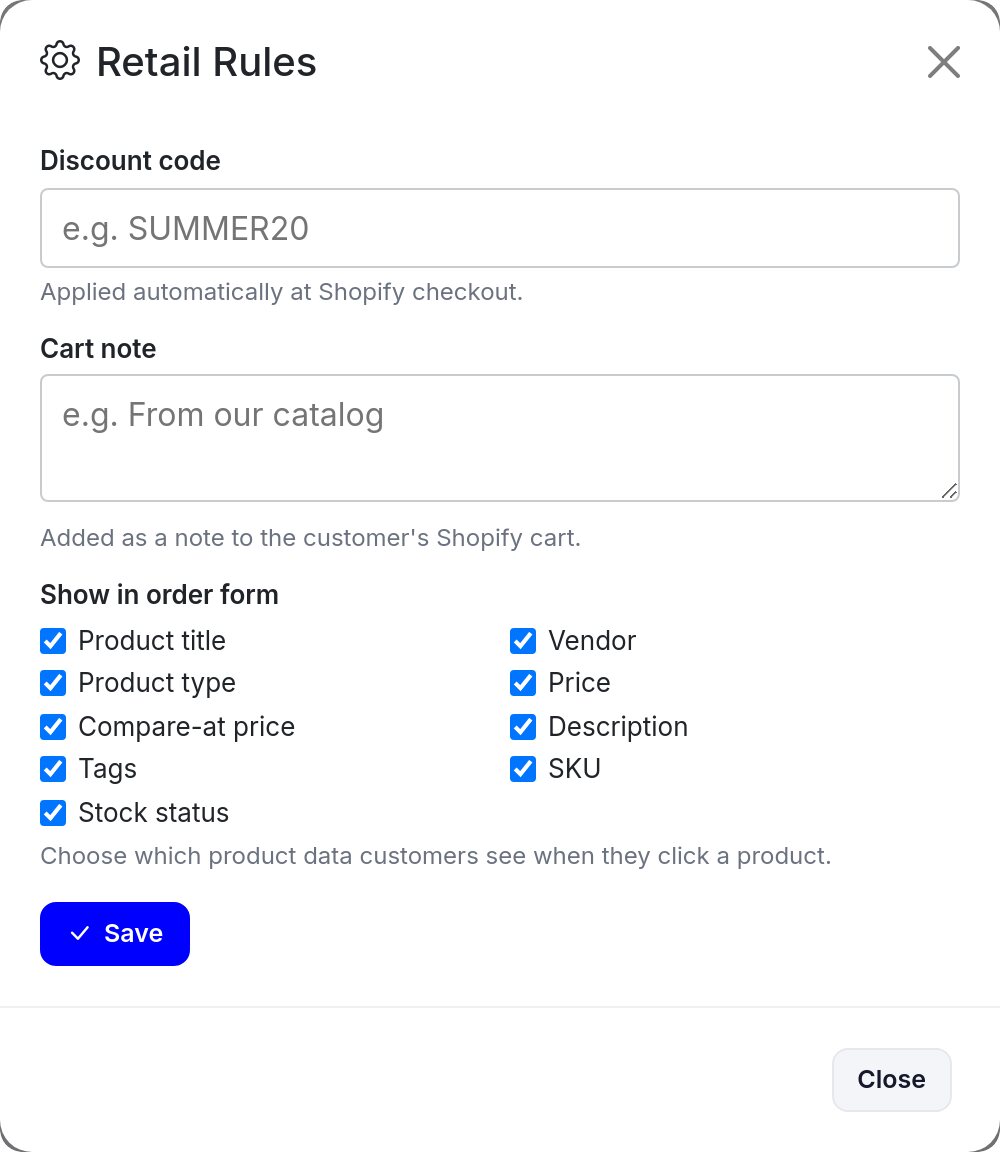
- Retail rules: a Discount code, applied automatically at Shopify checkout, and a cart note.
- Lock: a password for the public links, for example on a holiday preview for key accounts.
Then put the links in your newsletter, posts and emails, and the QR codes on counter cards, packaging inserts or a trade-show stand. More in how to build a wholesale order form that converts.
After launch: keep it current
A holiday catalog runs for weeks, and stock moves fast. On a Shopify store, Sync in the top bar has two options:
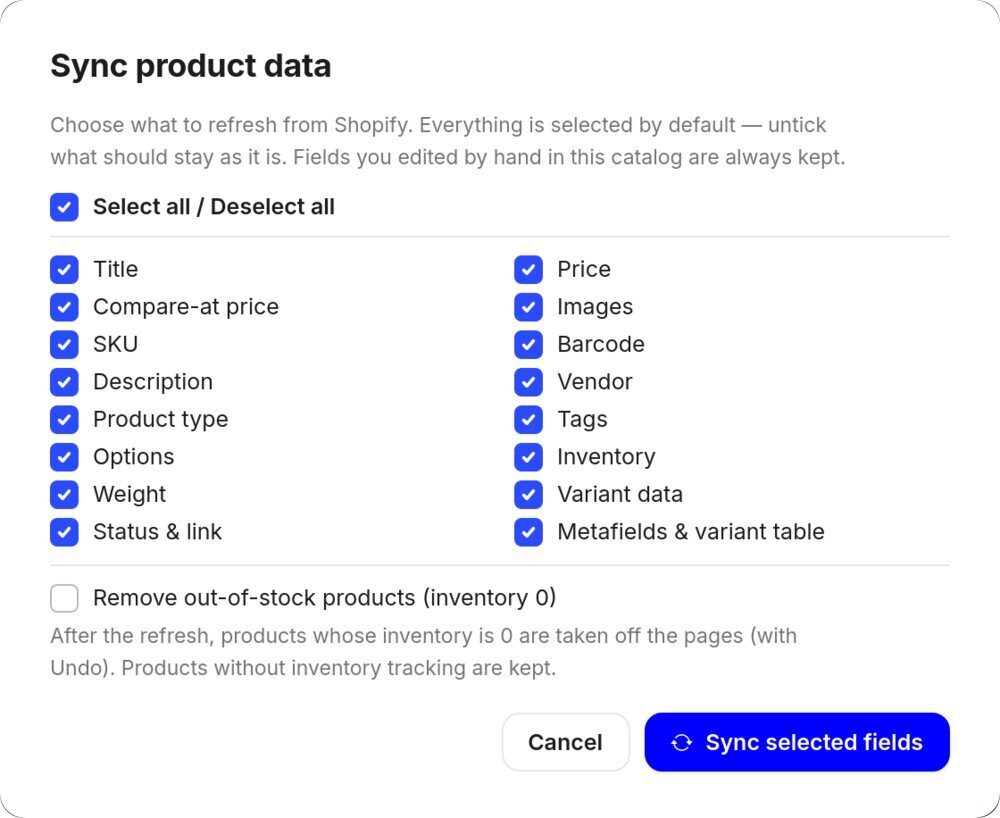
- Update product data refreshes prices, titles, images and more. Tick Remove out-of-stock products to take sold-out items off the pages, then click Reflow to close the gaps. Fields you edited by hand in this catalog are kept.
- Reimport collections fetches your collections again: new products are added, products no longer in a collection are removed, and your layouts, styles and edits are kept.
Without a Shopify store, change prices for this catalog in the Data view instead. Either way, click Generate PDF catalog again afterwards. Your share links stay the same and show the new PDF once it is ready, so nobody needs a new link.
When the season ends, Duplicate on the catalog card makes a draft copy with the same design and rules. Swap in the new season’s products, and your January sale or spring line sheet is half done.
Stuck on a step? Click Need help? in the bar under the page. Fin, the AI assistant, answers with the exact buttons to click.
Every button, step by step
The grid editor guide covers each panel in detail. New to the editor? Start with the step-by-step tour.
Get your seasonal catalog out on time
Pick a seasonal template, add your products, and share a PDF, a flipbook or an order form.